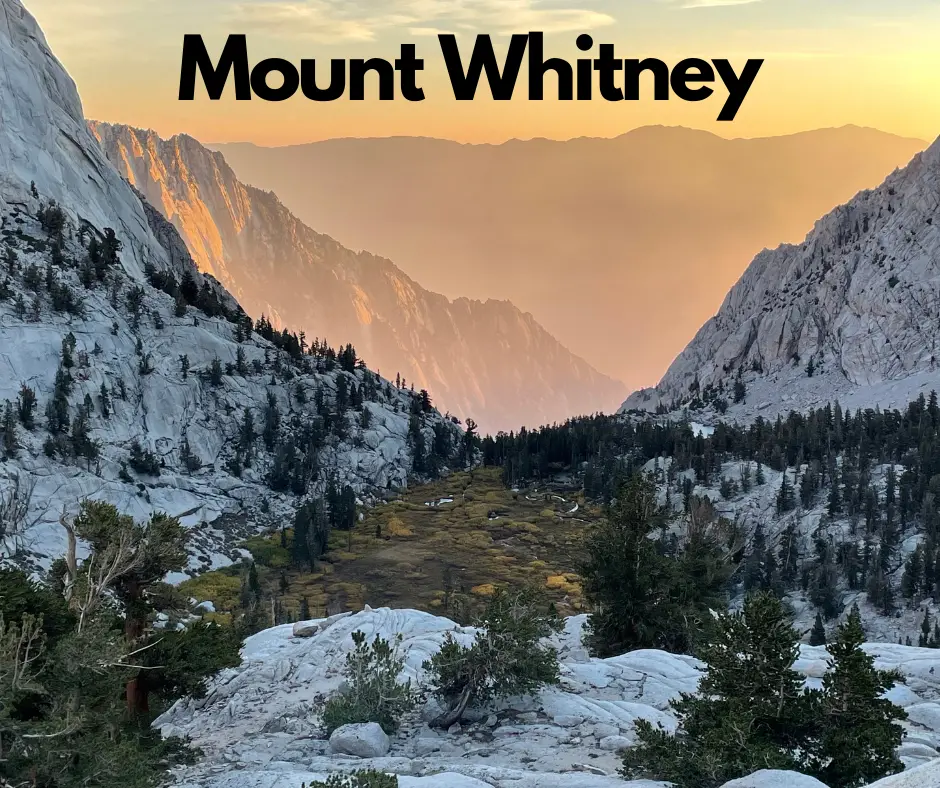
Hiking Mount Whitney is one of the most physically challenging things I’ve done. It’s not for the weak or the inexperienced. It’s an extremely difficult but rewarding challenge. With the right preparation, it can definitely be done! The sense of accomplishment after hiking Mt Whitney is like no other. All in all, this hike was absolutely unforgettable.
If you’re thinking about hiking Mount Whitney, this will give you an idea of what to expect on the trail, and tips on how to prepare. I did a ton of research before hiking Mt Whitney. In short, this guide is based on that research and my own personal experience.
My experience may be completely different than yours, but I hope to at least give you an idea of what this hike is like. Surprisingly, only about 1 out of every 3 people that attempt to hike Mt Whitney actually make it to the top.
Table of Contents
Here are the deets:
- Distance: 22 miles
- Elevation gain: 6,600 feet
- Est time: 12+ hours (took us 18)
- Difficulty: Extremely challenging
- Permit/ Fees: Yes a permit is needed for day hikers and overnight hikers.
- Camping: Whitney Portal Campground
- All Trails Link
- Best time to go: July- September to avoid snow and ice
How long does it take to hike Mount Whitney?
Most people can hike Mt Whitney in 12-16 hours. We were on the slow end of hikers, so it took us a total of 18 hours. 10 hours to reach the peak and 8 hours to come back down the mountain.
This is a very long and challenging hike, both physically and mentally. You can’t rush this hike by any means. On the way down your body will definitely feel it. My thighs and knees were done, but what kept me going at hour 17 was the thought of a bed and a warm meal. Taking my hiking boots off at 10:15 pm felt so good.
How to Hike Mount Whitney in One Day
Hiking Mount Whitney in a day is very doable with the right prep. The trail that most people take is the main Mt Whitney Trail leaving near Whitney Portal Campground. The other option is the climbers route, but this should only be done by experienced climbers and mountaineers.
Most people will start the hike between midnight and 4 am. We started at 3:45 am and got back at 10:15 pm. Although we were on the slower side of hikers, we weren’t the last ones to finish that day. Study the map, pack snacks, plenty of water, and layer up for this challenging hike. It can be done!
Before you book anything, the first thing you should do is get a permit to hike Mt Whitney. A day use permit is good from midnight to midnight. Overnight permits can extend over multiple nights. From May 1st through November 1st daily permits are maxed out at 100 per day. On the other hand, overnight permits are capped at 60 per day from the Mt Whitney Trail.
You can apply for both day use and overnight permits at Recreation.gov. The window to apply for permits through the lottery system is February 1st- March 15th.
If you’re coming from the John Muir Trail, you’ll either need a permit from Yosemite or Inyo National Forest depending on where you start. You can read more about JMT permits here.
Camping Near Mount Whitney
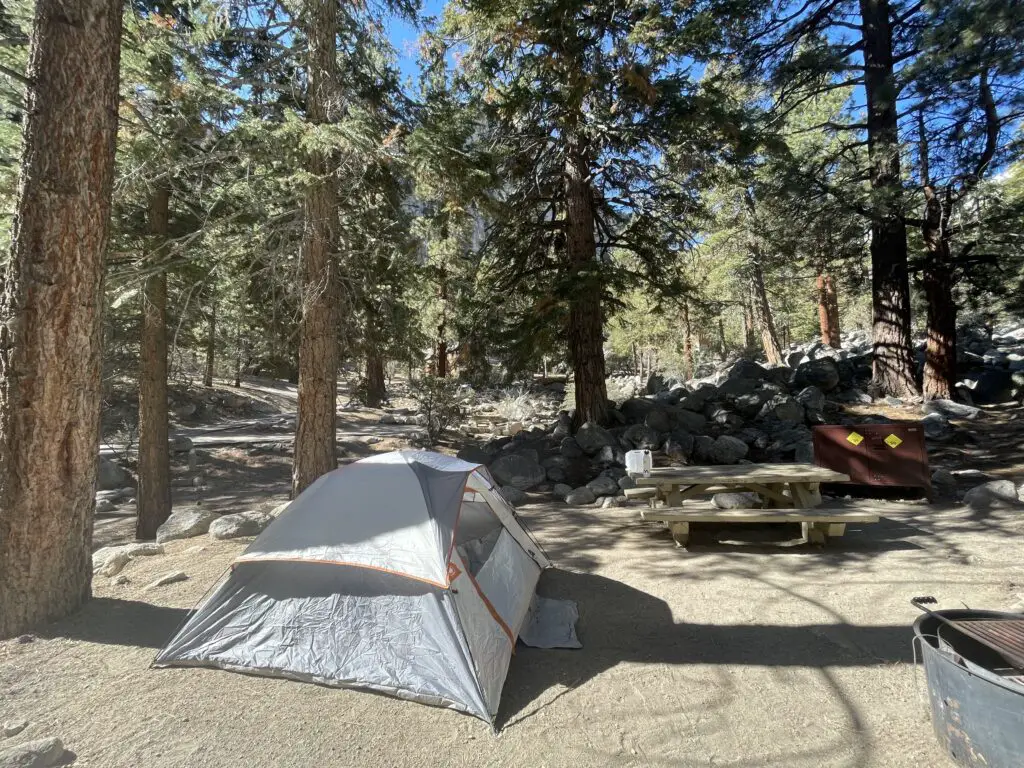
If you’re planning to day hike Mt Whitney, it’s best to stay at Whitney Portal Campground the night before. This campground is at 8,100 ft. Staying the night here will help get you acclimated to the elevation. The tent sites are nicely groomed and have a picnic table, bear box, and restrooms.
Details:
- Campground Name: Whitney Portal
- Open from May to October (weather permitting)
- Booking Site: Recreation.gov
- Cost: $28/ night
- Nearest City: Lone Pine, CA
- Amenities: Fire pit, picnic tables, restrooms, bear box
- ½ mile from the Mt Whitney trailhead
If Whitney Portal Campground is full, another nearby campground is Lone Pine Campground.
When you’re done hiking Mt Whitney, nothing is better than an actual bed and a warm shower. I highly recommend booking a hotel in Lone Pine. We stayed at the Best Western. The short 20 min drive after hiking 18 hours was more than worth it for a bed and a hot shower.
How do I prepare for hiking Mount Whitney?
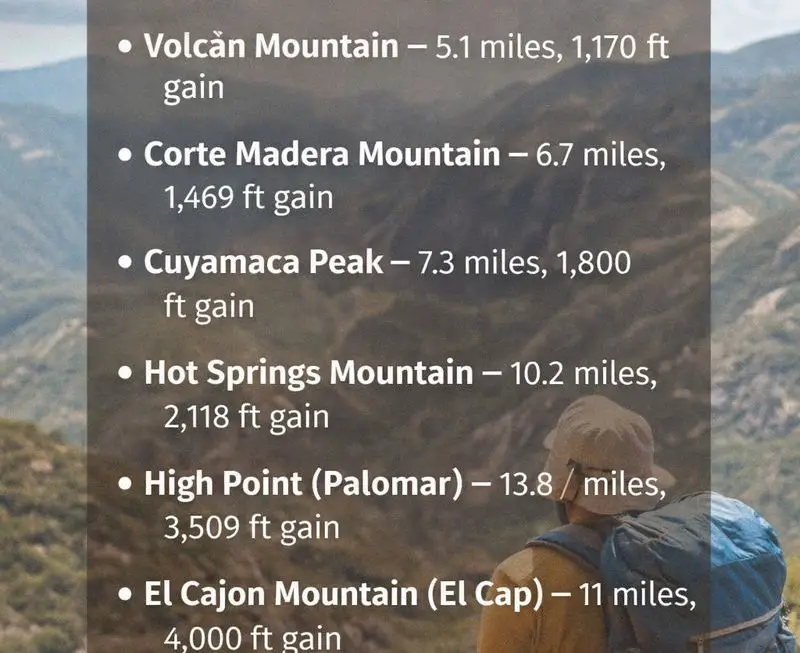
To prep for the Mt Whitney hike, you need to do hikes that are 15+ miles in distance with a lot of elevation gain. In San Diego, we prepped by hiking El Cajon Mountain and Big Pine Lakes before hiking Mt Whitney. I still don’t think this was enough. Another great hike to prep that I wish we would’ve done is San Jacinto Peak. It’s 18 miles with 5,000 ft in elevation gain. A hike like this is perfect to prep for Mt Whitney.
It’s so important to make the time to properly prepare for this difficult hike. Getting used to the distance is one factor but getting used to the elevation is a whole different ball game. Some people will camp a few days before their hike, and do a hike near Mt Whitney to prep. Others will hike 3-4 miles on the actual Mt Whitney Trail the day before their hike to acclimate to the elevation.
Whatever you decide to do, just make sure to do something to get used to hiking 10,000 ft + in the mountains. Even the most prepared hikers will have to turn around because of altitude sickness.
Dealing with AMS on Mount Whitney
AMS stands for Acute Mountain Sickness. Everyone is at risk of suffering from AMS, even the most fit person on the mountain. If you’ve ever done a hike above 10,000 ft you might be familiar with the headaches and nausea. Some people might even experience minor symptoms while snowboarding or skiing. AMS can become life threatening when it becomes severe.
Of course, no one wants to turn around while hiking Mt Whitney but it’s important to know when to call it quits. Turning around could save your life.
About my experience:
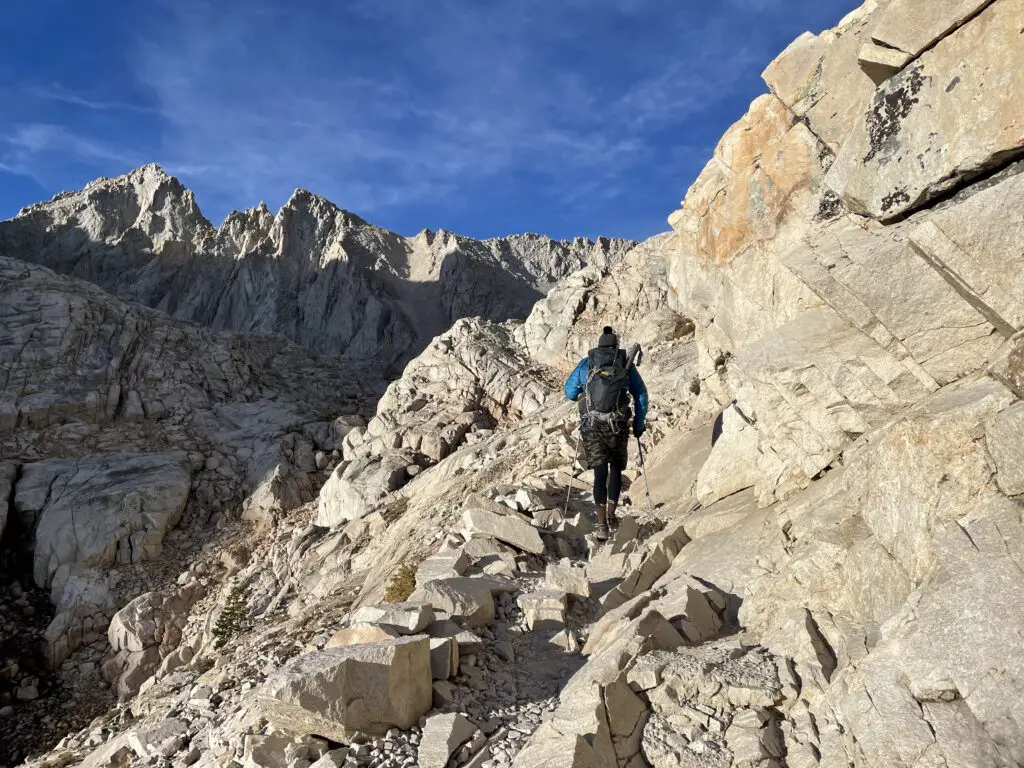
After the 99 switchbacks (13,500 ft), I experienced mild to moderate symptoms. Starting with a light headache, then I completely lost my appetite. I remember trying to eat some dark chocolate and instantly felt like vomiting.
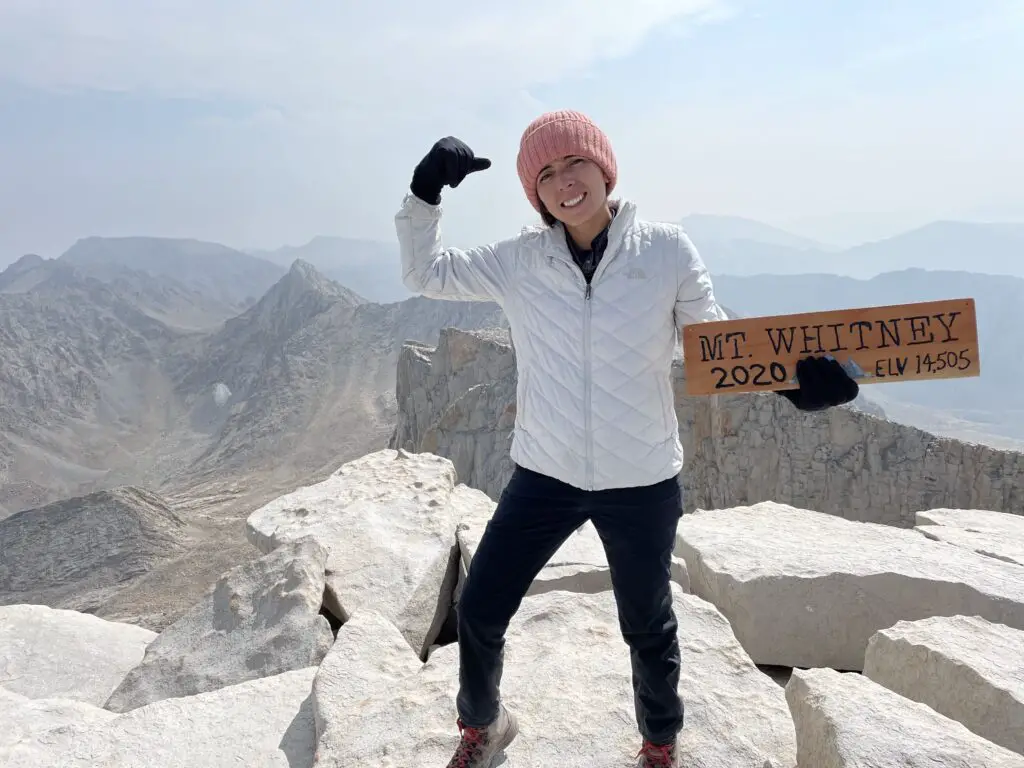
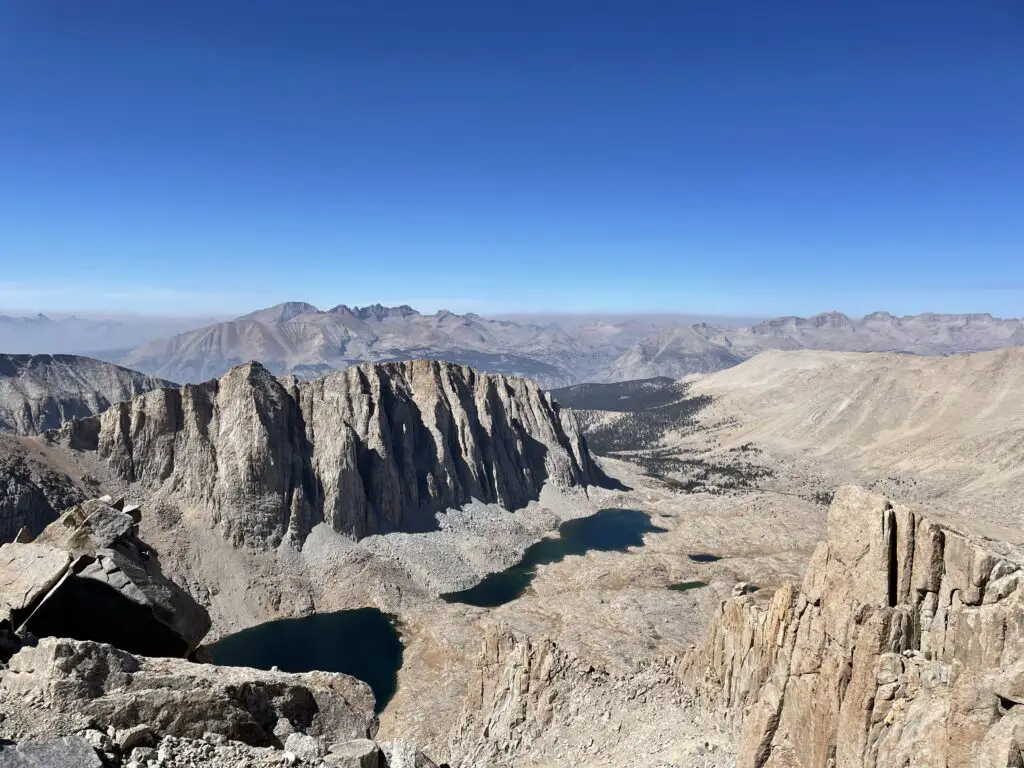
Without a doubt, the toughest part for me was the fatigue. After a slow 5-10 minutes of hiking I had to sit down, feeling like I could nap for hours. The last 2 miles of the hike were the longest and toughest because of this. Slowly and with tons of water, I made it to the top. At the top, I was overwhelmed with emotions and fatigue. Before heading down, I took a long break. Keep in mind, reaching the top is only the halfway point.You still have the long trek back down.
**This is my experience with altitude sickness, and your experience can and will be entirely different. It’s up to you to decide when enough is enough. When AMS gets bad it’s called HACE- High Altitude Cerebral Edema. Symptoms of HACE include disorientation, memory loss, loss of coordination, etc. You can read more about HACE here.
What Gear Do I Need for Hiking Mount Whitney?
To start, the gear you need for Mount Whitney depends on whether you’re doing a day hike or backpacking overnight on the trail. We chose to hike Mt Whitney in a day. Here’s our packing list:
- Headlamps. We spent a total of 6 hours hiking in the dark. Starting at 3:45 AM, it’s pitch black out so headlamps are a must.
- 3 Liter Hydration Bladder + Water Filter– I love my Osprey hydration bladder. It’s easy to refill and clean. On average, for this hike people drink about 6 liters. To clarify, you don’t pack all 6 liters to start. Water is heavy so start with 3 liters and refill along the way.
- Snacks– a mix of granola bars, GU’s, bark thins, PB & J, and energy snacks. Remember to only pack what you like and will eat. We also packed a hydration mix kind of similar to gatorade.
- Day pack– I managed to fit everything in my Osprey DayLite Daypack. Most people use a backpacking pack that better distributes the weight.
- Trekking poles– such a life saver. The trail is very rocky and trekking poles help stabilize you as you hike. On the downhill they also help take some pressure off your joints.
Depending on the time of year you’re hiking Mount Whitney you might also need gear to get through snow and ice on the trial. We didn’t come across any snow or ice in late September.
Tips for Hiking Mount Whitney
There are some things we did well and some things I wish we would have done differently. Here’s a list of what I would tell someone preparing to hike Mt Whitney.
- Preparation is key. I can’t emphasize this enough. It’s so important to find hikes in your area that are 15+ miles with a significant amount of elevation gain. Before hiking Mt Whitney my longest hike was 11 miles round trip, and I don’t think this was enough. I wish I would have done a hike like San Jacinto Peak to better prepare. The distance and elevation gain on Mt Whitney is something you need to physically prepare for.
- Hydrate. Before, during, and after hiking Mt Whitney you should be drinking plenty of water. On average people drink about 6 liters when hiking Mt Whitney. You shouldn’t be packing all 6 liters to start. Pack about 3 liters and refill along the way.
- Take it slow. The key to this hike is to not rush! Your body needs to acclimatize to the higher elevation as you’re hiking. So if you go too fast you’ll be the victim of AMS. Take it slow, and take breaks as needed.
- Pack all the snacks. Pack what you know you like. For me that’s beef jerky, some granola bars, and energy gels. GU is what marathon runners eat and makes for a great snack on this hike. Some have caffeine to give you an extra energy boost.
- Wear Mole Skins. To protect your feet from getting blisters, wear some mole skins. They’re very easy to apply and a life saver on the trail. This hike is extremely difficult as it is, so there’s no need to risk making it more difficult with some blisters.
- Layers are a must. The weather at the summit can change in an instant. We hiked Mt Whitney in September and it was chilly. Temperature was in the 40’s. The temperature drops as you increase in elevation. The wind really picked up too at the summit. Be prepared with hiking pants, a long sleeve, a jacket, beanie, gloves, and a rain jacket (just in case).
- Keep a list of trail markers with distances. This will come in handy. I think it’s better than using All Trails to track your location. With it being such a long hike, your phone might die. A paper list of trail markers is a good back up.